---
last_modified: 2025-11-05
title: "用于 Deno 的 Jupyter 内核"
oldUrl: /runtime/manual/tools/jupyter/
openGraphLayout: "/open_graph/cli-commands.jsx"
openGraphTitle: "deno jupyter"
description: "借助 Deno 内置的 Jupyter 内核,在 Jupyter 笔记本中编写 JavaScript 和 TypeScript"
---
Deno 附带一个内置的 Jupyter 内核,允许你在交互式笔记本中编写 JavaScript 和 TypeScript;使用 Web 和 Deno API,并直接导入 `npm` 包。
:::caution `deno jupyter` 总是以 `--allow-all` 选项运行
目前,在 Jupyter 内核中执行的所有代码均以 `--allow-all` 标志运行。这是一个临时限制,将在未来解决。
:::
## 快速入门
运行 `deno jupyter` 并按照说明操作。
你可以运行 `deno jupyter --install` 来强制安装内核。Deno 假设 `jupyter` 命令在你的 `PATH` 中可用。
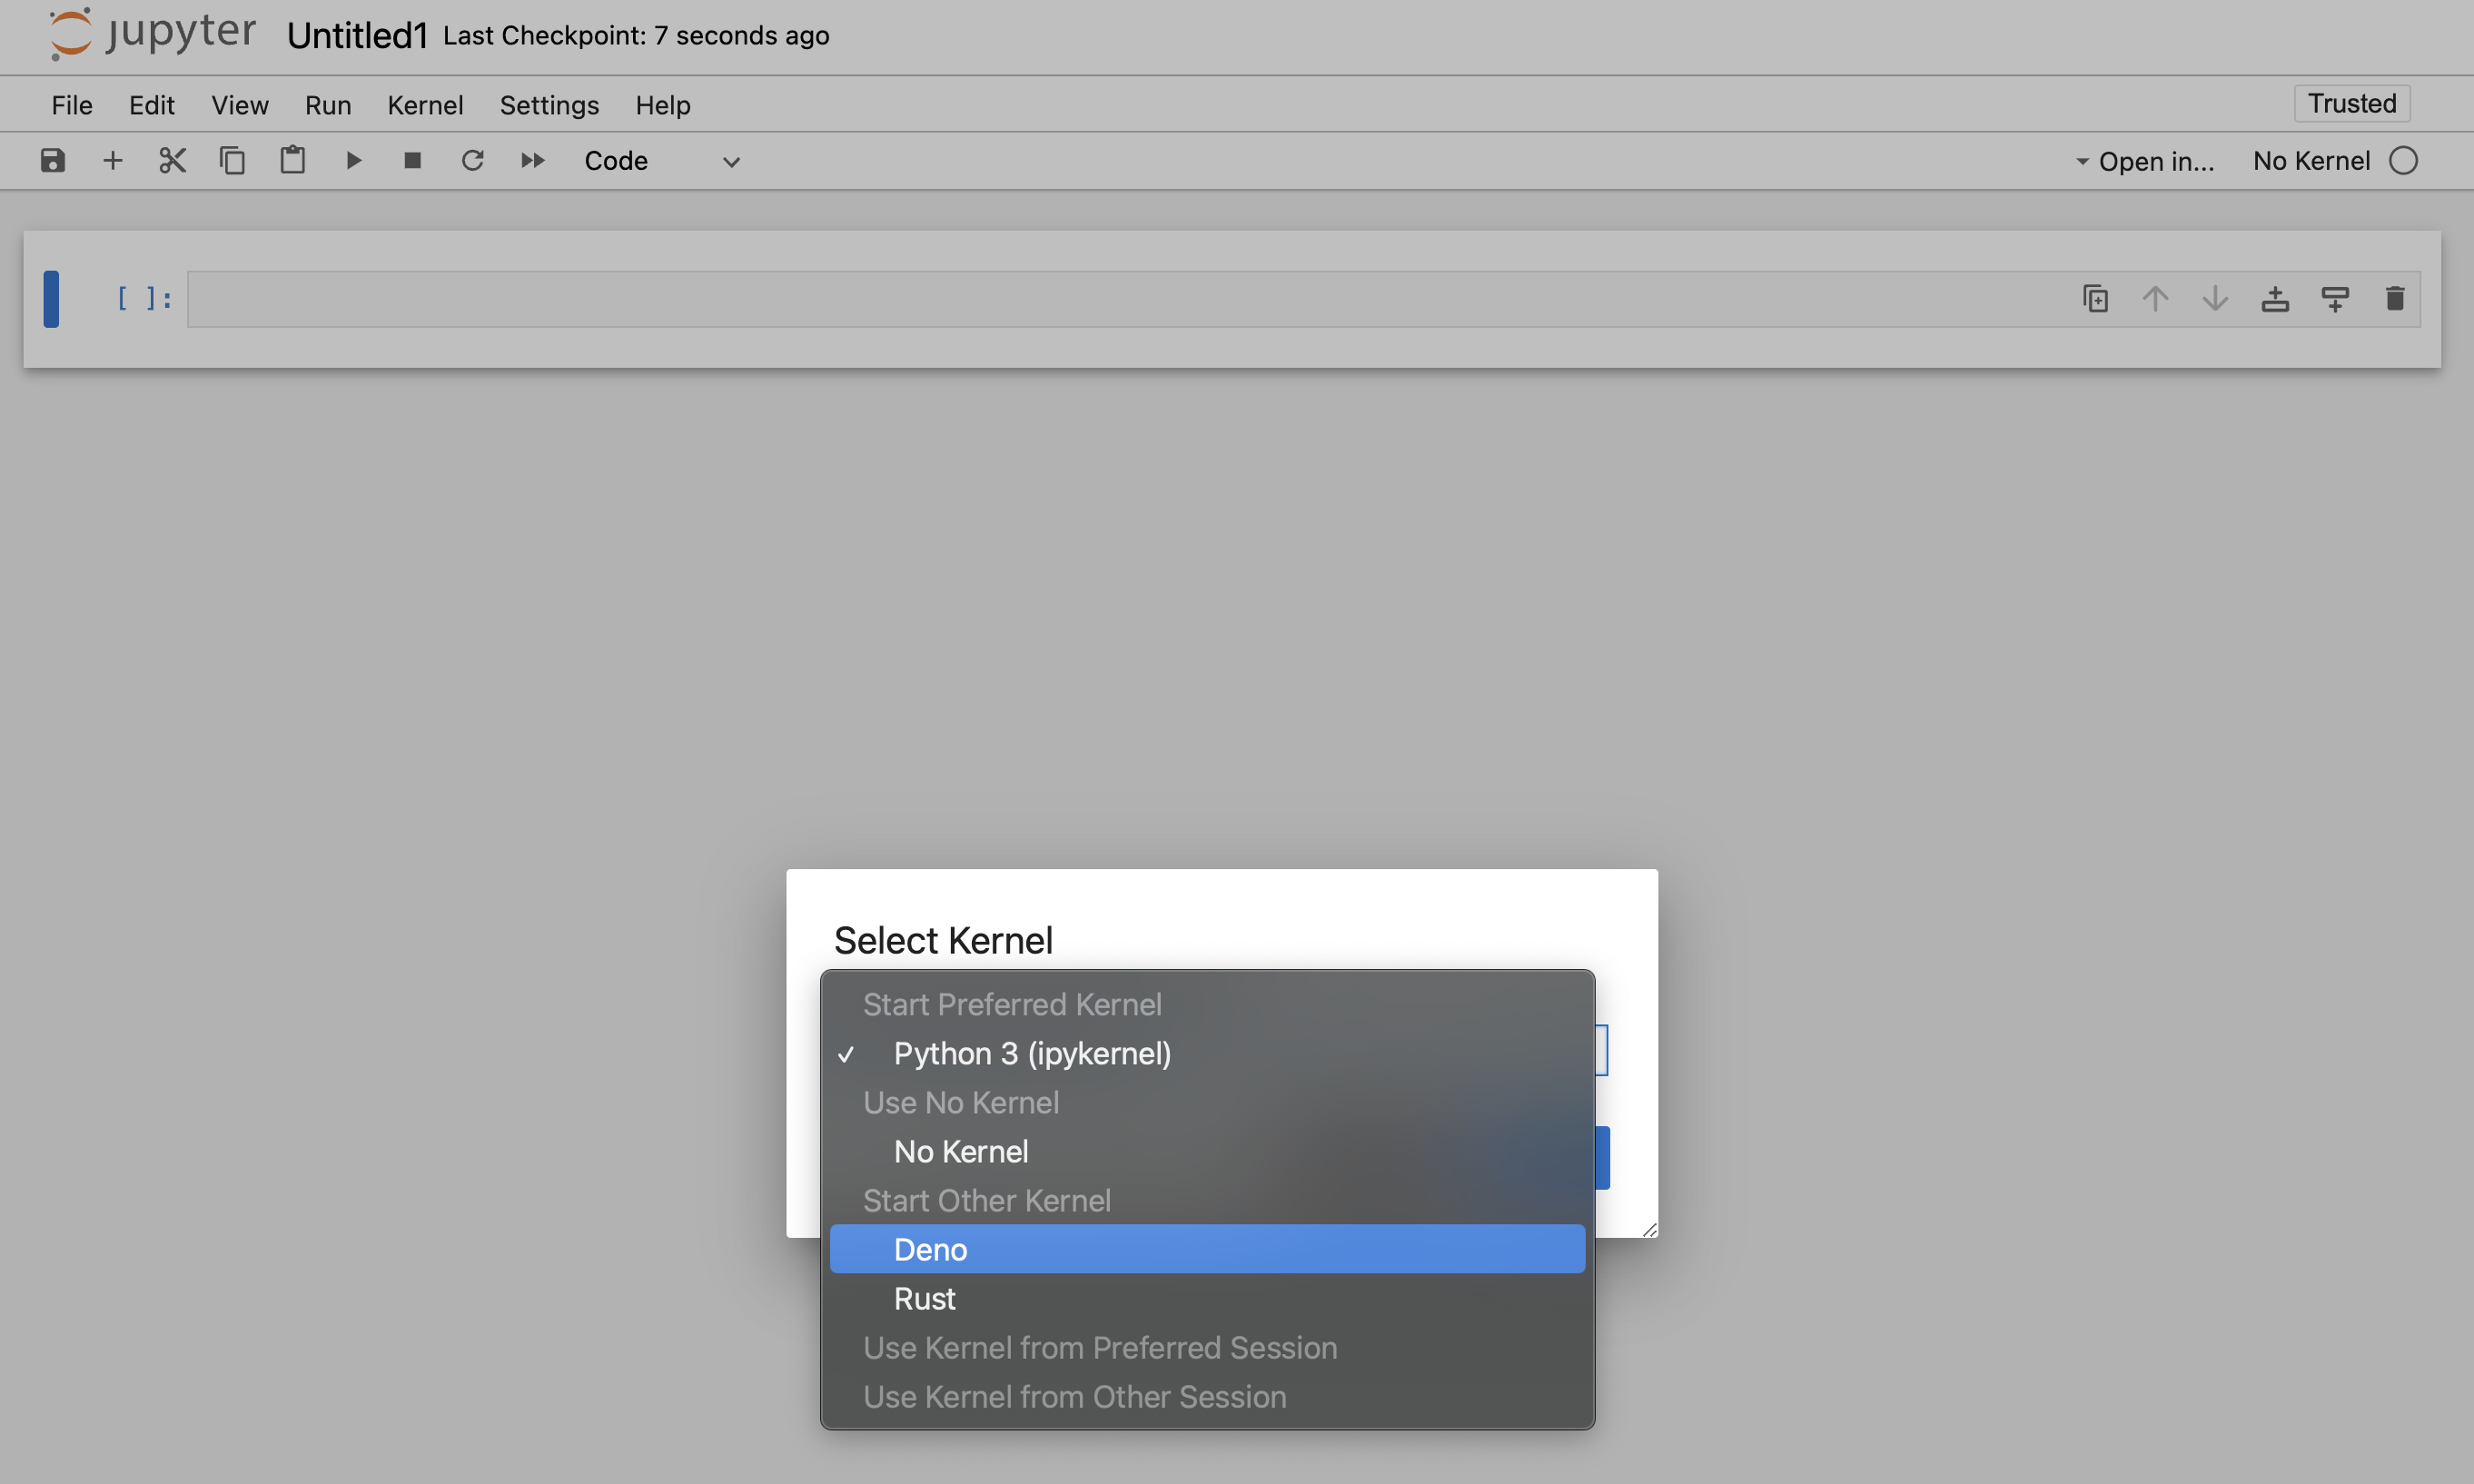
完成安装过程后,Deno 内核将在 JupyterLab 和经典笔记本的笔记本创建对话框中可用:
你可以在任何支持 Jupyter 笔记本的编辑器中使用 Deno Jupyter 内核。
### VS Code
- 安装
[VSCode Jupyter 扩展](https://marketplace.visualstudio.com/items?itemName=ms-toolsai.jupyter)
- 通过打开命令面板(Ctrl+Shift+P)并选择“创建:新建 Jupyter 笔记本”来打开或创建一个笔记本文件。你也可以手动通过创建一个扩展名为 ".ipynb" 的文件来完成此操作。
- 在新建或现有笔记本上,点击创建新的 Jupyter 笔记本,选择“Jupyter 内核”,然后选择 Deno

### JetBrains IDEs
Jupyter 笔记本开箱即用。
## 丰富内容输出
[`Deno.jupyter`](/api/deno/~/Deno.jupyter) 命名空间提供用于
在笔记本中显示丰富内容的辅助函数,
[使用 Jupyter 支持的 MIME 类型](https://docs.jupyter.org/en/latest/reference/mimetype.html)。
---
提供丰富输出的最简单方法是返回一个具有 `[Symbol.for("Jupyter.display")]` 方法的对象。
此方法应返回一个将 MIME 类型映射到应显示的值的字典。
```ts
{
[Symbol.for("Jupyter.display")]() {
return {
// 普通文本内容
"text/plain": "Hello world!",
// HTML 输出
"text/html": "Hello world!
",
}
}
}
```
_返回普通文本和 HTML 输出的对象示例。_
:::info
你也可以使用 `Deno.jupyter.$display`,而无需输入
`Symbol.for("Jupyter.display")`
:::
这是一个普通函数,因此你可以使用任何你想要的库来格式化
输出 - 例如,使用 [`@std/fmt/colors`](/runtime/reference/std/fmt/) 来提供
彩色输出:
```ts
import * as colors from "jsr:@std/fmt/colors";
{
[Deno.jupyter.$display]() {
return {
"text/plain": colors.green("Hello world"),
}
}
}
```
你也可以使用 [`Deno.jupyter.display`](/api/deno/~/Deno.jupyter.display)
函数直接显示 MIME bundle:
```js
await Deno.jupyter.display({
"text/plain": "Hello, world!",
"text/html": "Hello, world!
",
"text/markdown": "# Hello, world!",
}, { raw: true });
```

你的笔记本前端将自动根据其能力选择“最丰富”的 MIME 类型进行显示。
---
[`Deno.jupyter`](/api/deno/~/Deno.jupyter) 提供了多个用于
常见媒体类型丰富输出的辅助方法。
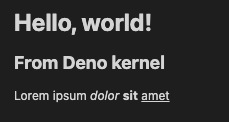
[`Deno.jupyter.html`](/api/deno/~/Deno.jupyter.html) 是一个带标签的模板,它
会将提供的字符串渲染为笔记本中的 HTML。
```js
Deno.jupyter.html`Hello, world!
来自 Deno 内核
Lorem ipsum dolor sit amet
`;
```
[`Deno.jupyter.md`](/api/deno/~/Deno.jupyter.md) 是一个带标签的模板,它
会将提供的字符串渲染为笔记本中的 Markdown 文档。
```js
Deno.jupyter
.md`# 使用 Deno 的 TypeScript 笔记本 
**与 Jupyter 的交互式计算 _内置于 Deno_!**`;
```

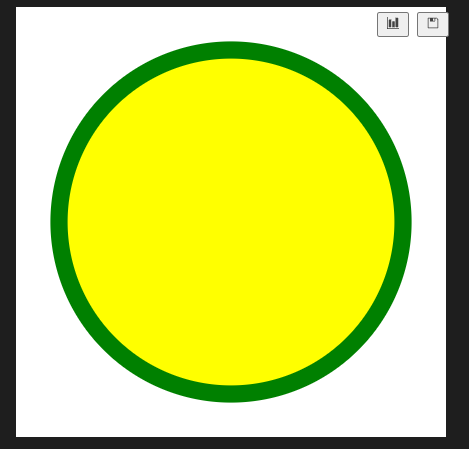
[`Deno.jupyter.svg`](/api/deno/~/Deno.jupyter.svg) 是一个带标签的模板,它
会将提供的字符串渲染为笔记本中的 SVG 图形。
```js
Deno.jupyter.svg``;
```
[`Deno.jupyter.image`](/api/deno/~/Deno.jupyter.image) 是一个函数,它会
渲染 JPG 或 PNG 图像。你可以传入文件路径,或者已经读取的字节:
```js
Deno.jupyter.image("./cat.jpg");
const data = Deno.readFileSync("./dog.png");
Deno.jupyter.image(data);
```
## prompt 和 confirm APIs
你可以使用 `prompt` 和 `confirm` Web API 在笔记本中等待用户输入。
confirm 和 prompt APIs 示例
## IO pub 通道广播
[`Deno.jupyter.broadcast`](/api/deno/~/Deno.jupyter.broadcast) 允许向 IO pub 通道发布
消息,从而在单元格
求值时提供实时更新。
考虑以下示例,该示例在开始计算之前打印一条消息,计算完成时再打印另一条消息:
```js
await Deno.jupyter.broadcast("display_data", {
data: { "text/html": "处理中..." },
metadata: {},
transient: { display_id: "progress" },
});
// 假装我们正在进行一个耗时的计算
await new Promise((resolve) => setTimeout(resolve, 1500));
await Deno.jupyter.broadcast("update_display_data", {
data: { "text/html": "完成" },
metadata: {},
transient: { display_id: "progress" },
});
```
Deno.jupyter.broadcast API 示例
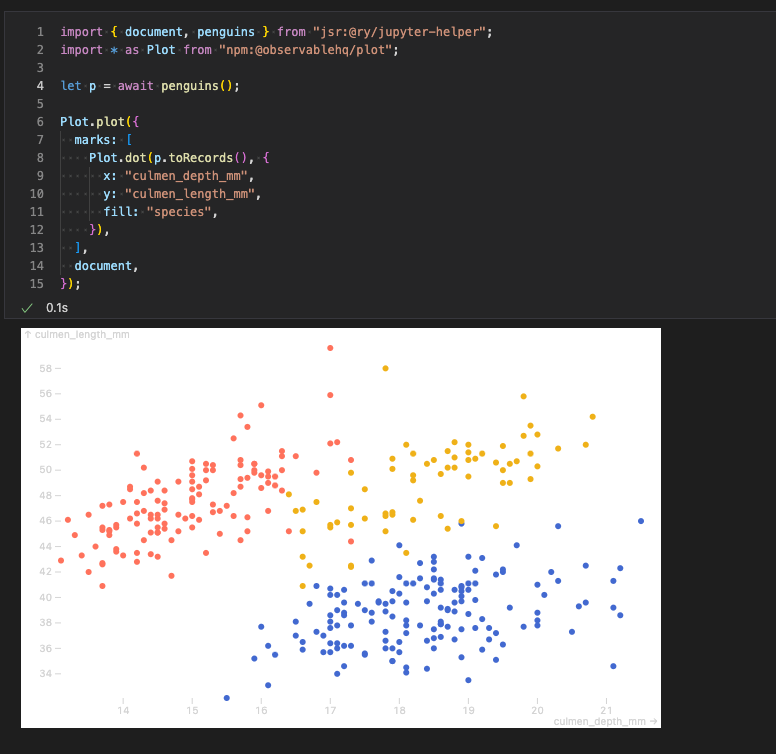
## 示例
以下是使用 `@observablehq/plot` 生成图表的示例:
```ts
import { document, penguins } from "jsr:@ry/jupyter-helper";
import * as Plot from "npm:@observablehq/plot";
let p = await penguins();
Plot.plot({
marks: [
Plot.dot(p.toRecords(), {
x: "culmen_depth_mm",
y: "culmen_length_mm",
fill: "species",
}),
],
document,
});
```
请参阅 https://github.com/rgbkrk/denotebooks 以获取利用数据分析和可视化库(如 Polars、Observable 和 d3)的更高级示例。
## `jupyter console` 集成
你还可以在 `jupyter console` REPL 中使用 Deno Jupyter 内核。为此,你应该通过 `jupyter console --kernel deno` 启动控制台。